There are now two options for entering the roster information into the Cantoo 360. You an upload your roster spreadsheet to bulk upload all rater information, or you can bypass the roster upload function during the project setup phase and choose to send a link to each participant to have them enter the roster information.
We recommend using Option 1 if you are new to the system or 360's in general.
Option 1:
To start the upload process you must first have a completed roster upload spreadsheet. The template file can be downloaded here. Please follow the instructions for Building a Roster File in order to ensure your file is filled in properly.
After your roster template is completed, you can upload the file into the system.
Step 1: Select the completed file. Click the Choose File button and select the file.
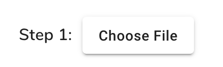
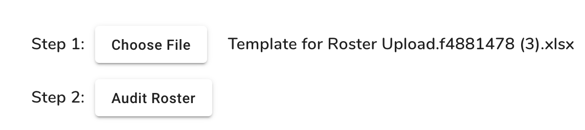
Note: You will see the name of the file appear next to the Choose File button after you select the file for upload.
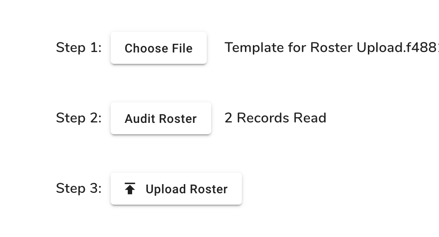
Step 2: Audit the roster file by clicking the Audit Roster button. The system will review the file for any errors or warnings and report them to you. This is a required step.
After clicking the Audit Roster button the Audit findings will appear next to the Audit Roster button. The Review Roster Audit button provides a detailed downloadable report showing all errors and warnings with additional details.

Note: All errors in the roster file must be corrected before the system will allow you to upload the file.
To correct errors, make changes to the roster template file and follow Steps 1 & 2 to upload the new file.
Step 3: Upload the roster. Click the Upload Roster button in step 3 to upload the data to the system. You will see the name of each Participant appear below roster upload buttons when the process is complete.
Common Questions:
Q: Can I make changes to the roster after I have uploaded the roster template file?
A: Yes, you can upload a new roster file anytime prior to launching the project. Simply follow the instructions above to upload your new file. The previous data will be replaced with the data from the new file.
Option 2:
To select Option 2 in the roster tab, click the toggle switch under Bypass Roster: so that is says "on" and turns blue.
This will allow you to launch the project without a roster and will create a Participant form for you to share with each Participant. Each Participant will enter their rater information into the form and submit it and the roster information will be added to the project.
Notice: The Require Roster Approval by Project Admin check box. When this is selected, the system does not send invitation emails to the raters when the Participant submits their roster form. It allows the Project Admin to review the information within the project dashboard and sent invitations when they are ready. If this check box is not checked, invitations will be sent when each Participant submits their roster form.

Continue to: 360 Setup: Invitation Email