There are several customized settings available in the Invitation Email tab of the 360 project setup.
Template Selection: In the top left of the window there is a drop down list of saved email templates to choose from. This is also where you will select templates that you create for future use. After selecting from the list of options the invitation text will be displayed in the design window below.

Creating a New Template: To create a new email template, type a name in the Save As Email Template text field and click the Save button.

Tip: Wait until you have reviewed, edited and previewed your invitation email before saving it as a template for future use.
Subject: Give your invitation email a subject line by entering the text in the Subject text field.

Test Email: You can send a test email to preview and make changes as needed. Add an email address in the Send Test Email text field and click the Send Test button.

Note: In order to send a test email, the roster file must be loaded in the system. If you skip the roster upload you cannot send a test email.
Email Design: In the email design window there are several customization options. Simply click in the window and type. The window is populated with a basic invitation message that can be edited as needed.
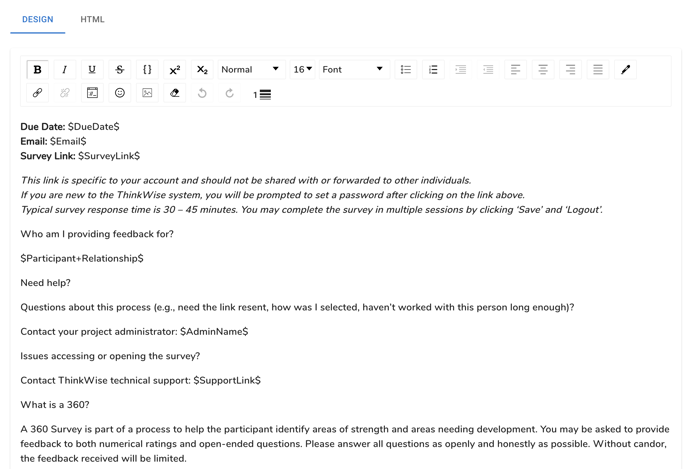
Keywords: Keywords are available for additional personalization.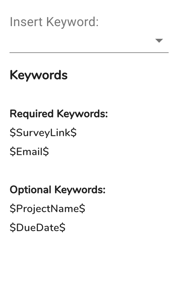
Place your cursor in the textfield where you would like the keyword to be located and select it from the Insert Keyword dropdown list on the right.
IMPORTANT NOTE: The Survey Link and Email keywords are required.
The Survey Link keyword creates a custom survey link for each rater in the project.
The Email keyword is required to match the custom link to the rater.
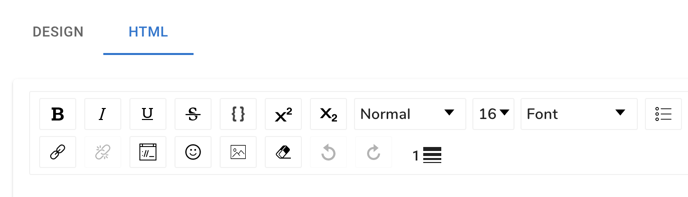
HTML View: Select the HTML tab at the top of the email design window to view the HTML code for the email. Click in the code window to edit the HTML as needed.
When your invitation email is complete you can move to the last step in the setup process, launching your project.
Continue to: 360 Setup: Launching Your Project