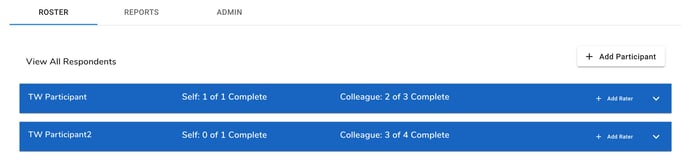
On the project dashboard page, below the main project information at the top of the page, there are three main tabs: Roster, Reports and Admin. In this article we will review the Roster tab.
Click on the Roster tab to view each of the Participants that were added during the Project Setup process.
Each Participant will be listed in a blue expandable bar. The information displayed for each Participant includes: First and Last Name, Survey Completion Status by Rater Category and the add Rater function.
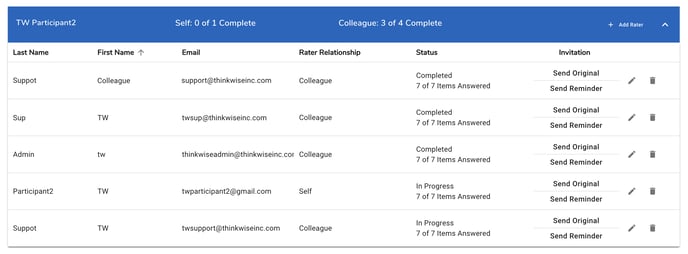
Click on the blue bar to expand the Participant window.
Below the blue header bar you will see each of the raters for that Participant.
Edit a Rater: To edit an existing rater, click on the pencil icon ![]() for the rater you would like to edit.
for the rater you would like to edit.
An additional row will appear below the rater you selected with the data fields that are available to edit. Make changes to any of the fields and click Save. To exit without making changes click the x button.

Add a Rater: To add a new Rater, click on the + Add Rater button in the blue header bar.![]()
New Rater information fields will appear in the Participant window. Add the First Name, Last Name, Email Address and Rater Relationship for the new Rater and click the Save button.

The new Rater will be listed in the Participant window.
Note: If you want to add the same Rater for multiple Participants in the same project, you will need to complete the + Add Rater process for each of the Participants.
Invitation Emails: In the Invitation column of the Participant window, there are two options for sending invitation emails to Raters individually.
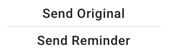
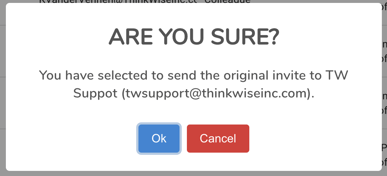
Click the Send Original button to send the original invitation email that was created during the Project setup process. A pop-up confirmation window will appear to confirm your request to send the original invitation to the selected Rater. Click the OK button to send.
Click the Send Reminder button to send a reminder email. This will only send a reminder to the individual Rater. A pop-up window with the Reminder email settings will appear. Edit any fields you like and click Send to send the Reminder email.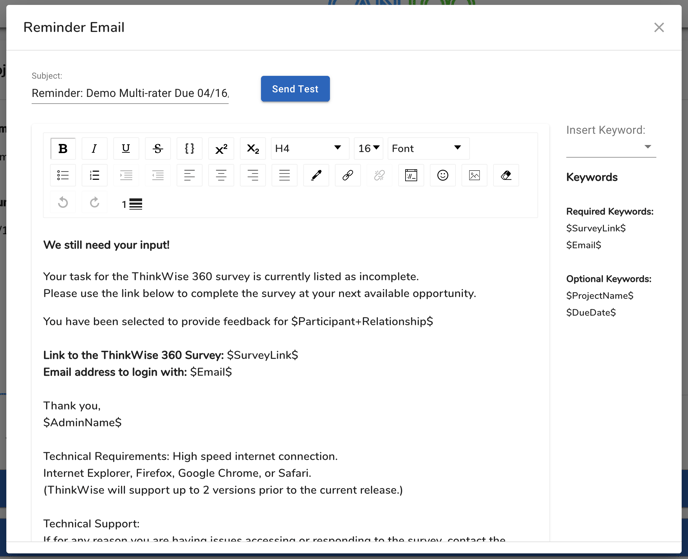
Add Participant: To add a new Participant to an existing 360 Project, click on the + Add Participant button
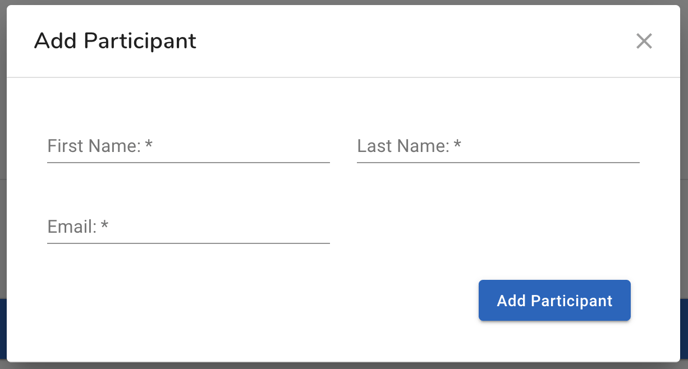
In the pop-up window that appears, enter the First Name, Last Name and Email Address of the new Participant and click the Add Participant button. A new Participant window will be created.
Note: There is no option to set the Rater Relationship for a new Participant. The system will automatically set the relationship to Self.
Continue to: 360 Admin: Project Dashboard - Reports Tab